
Arista vEOS on VMware ESX
Notice: This article is more than 12 years old. It might be outdated.
Arista EOS is released as a single image that supports all of their hardware platforms. But that same single image can also be run in a virtual machine! While a great article on Building a Virtual Lab with Arista vEOS and VirtualBox already exists, I wanted to accomplish the same with vSphere 5.x.
Here’s how I did it.
Pre-Requisites
Besides at least one ESXi 5.x host you will need the following files from Arista Networks:
- The bootloader: Aboot-veos-2.0.8.iso
- The actual vEOS image as a VMDK: EOS-4.12.0-veos.vmdk
Note: This guide is current as of June 13, 2013. I have used the latest available vEOS VMDK file. You might want to check if a newer vEOS files was published in the meantime.
Installation
Build a base VM image in vSphere
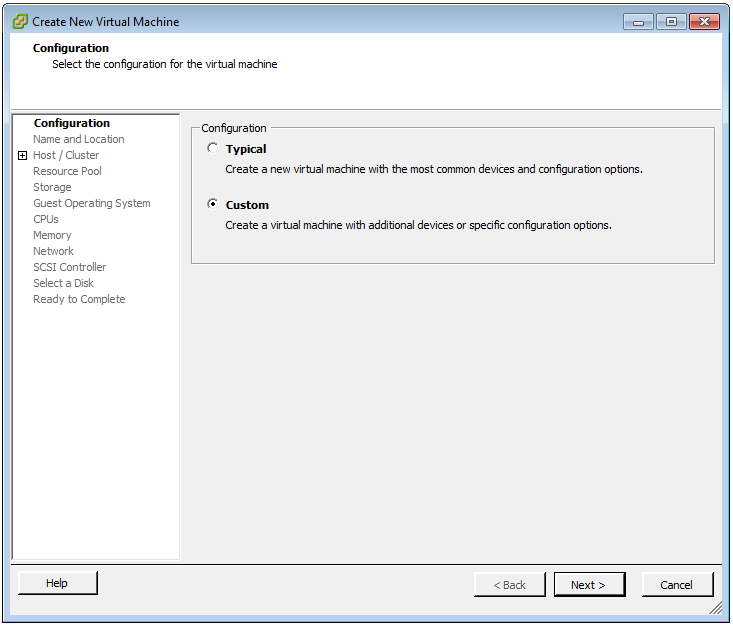
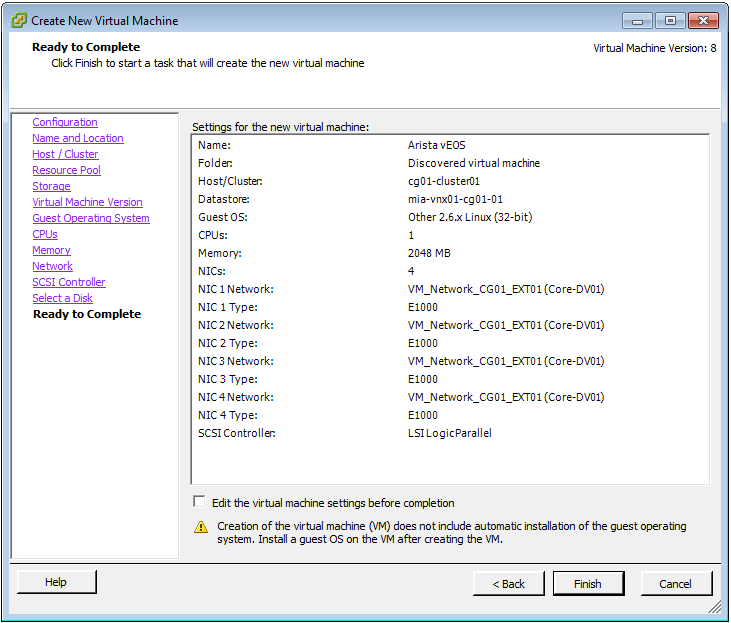
Within your vSphere Client create a new Custom Configuration VM
Select a name - e.g. Arista vEOS 4.12.0 - for your VM and select the Host / Cluster, Resource Pool and Storage applicable to your specific setup.
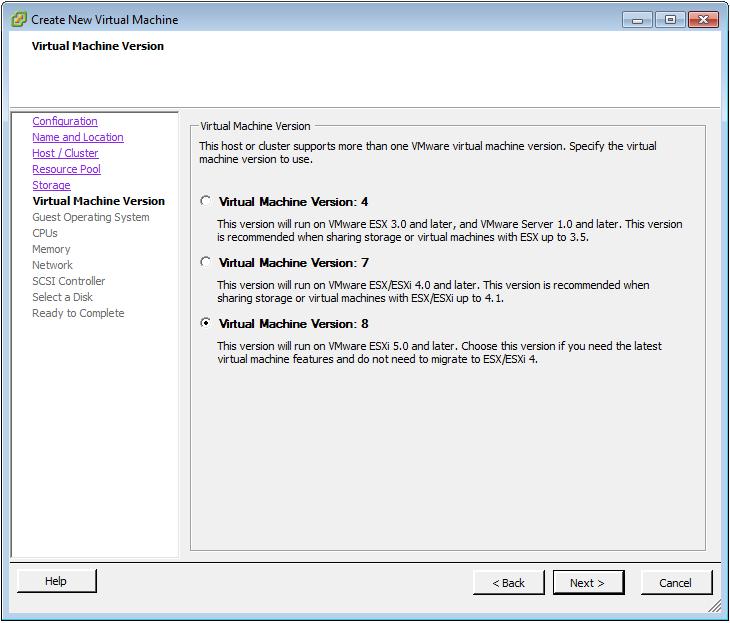
As the Virtual Machine Version select Virtual Machine Version: 8.
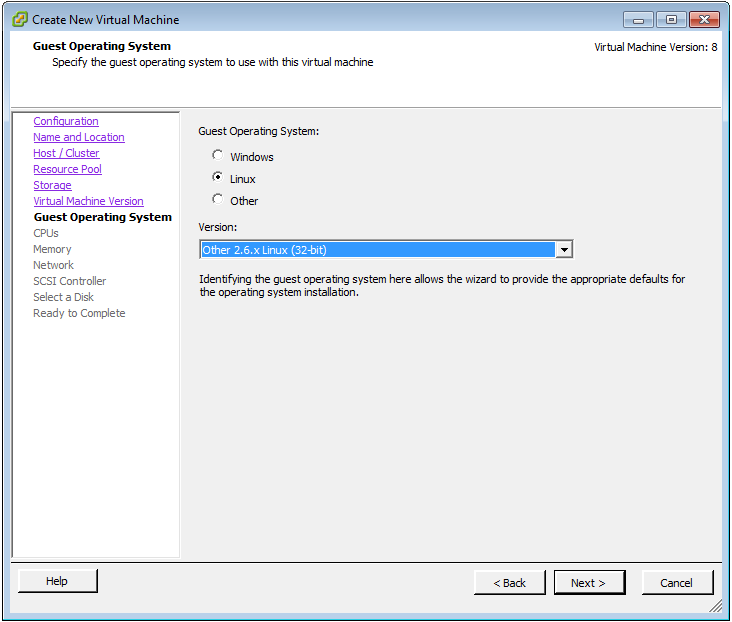
As the Guest Operating System choose Linux -> Other 2.6.x Linux (32-bit).
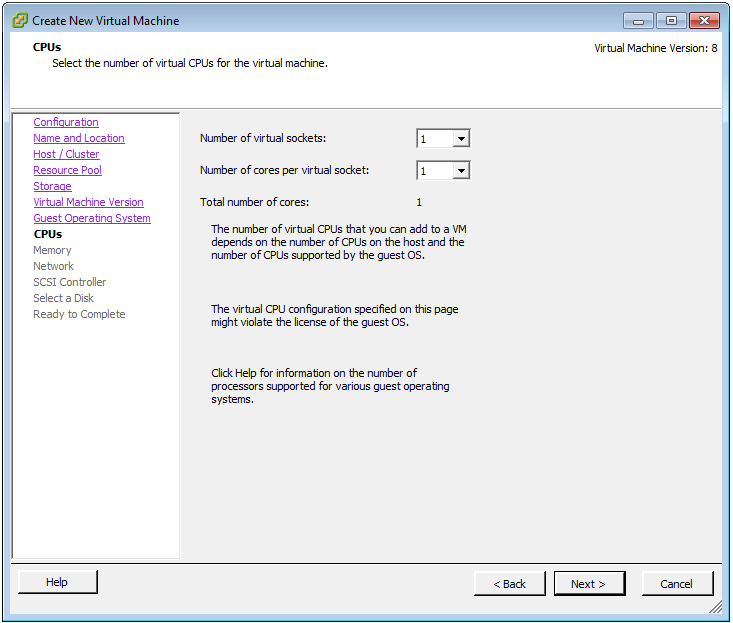
For the CPU settings choose 1 as the Number of Virtual Sockets and also 1 as the Number of cores per virtual socket.
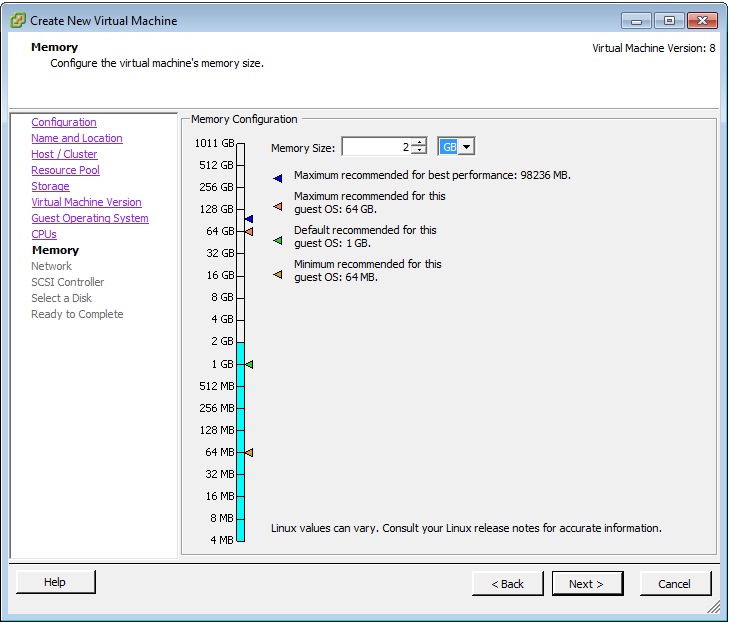
Increase the Memory Size to 2 GB.
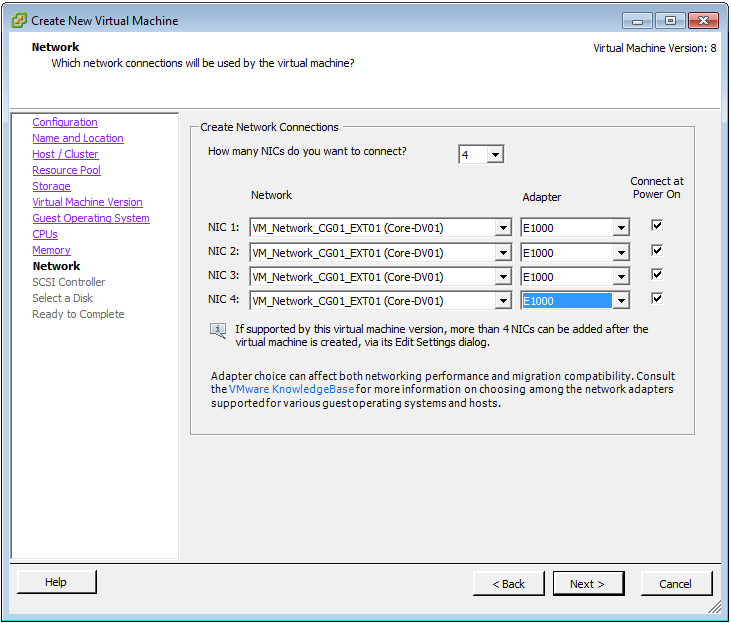
Increase the number of NICs to 4 and choose E1000 as the Adapter for all of them. Connect each NIC to a port-group applicable to your specific setup.
The NIC 1 will appear as the Mgmt interface within vEOS. If you didn’t create any port-groups specific to your vEOS setup so far, don’t worry: Just pick any available port-group. We will get a chance again to change this later.
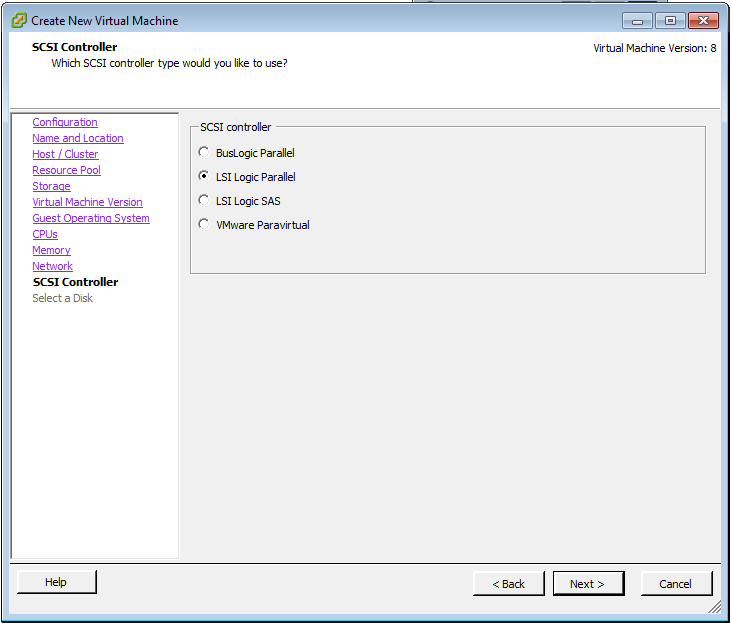
Leave the SCSI Controller at the default value of LSI Logic Parallel. We will not actually use a SCSI controller.
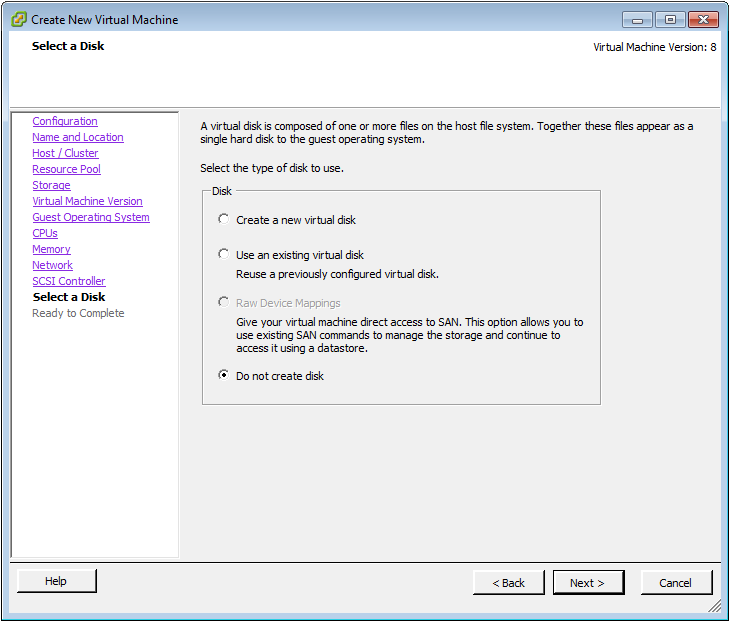
At this point we will not create a disk. Therefore select Do not create disk under Select disk.
Complete the “Create New Virtual Machine” wizard. Do bot power up the VM yet!!
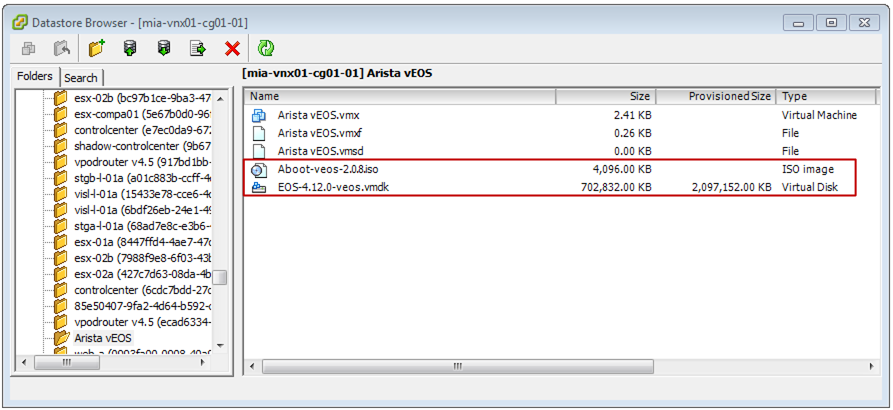
Upload Aboot and vEOS files
Next upload the Aboot-veos-2.0.8.iso bootloader and EOS-4.12.0-veos.vmdk disk image file into the folder of your previously created VM within the vSphere data store.
Change the Virtual Machine settings
Although we just created the VM for vEOS, we already need to change its settings again. Open the VM’s properties via Edit Settings.
Remove the Floppy drive 1 hardware item.
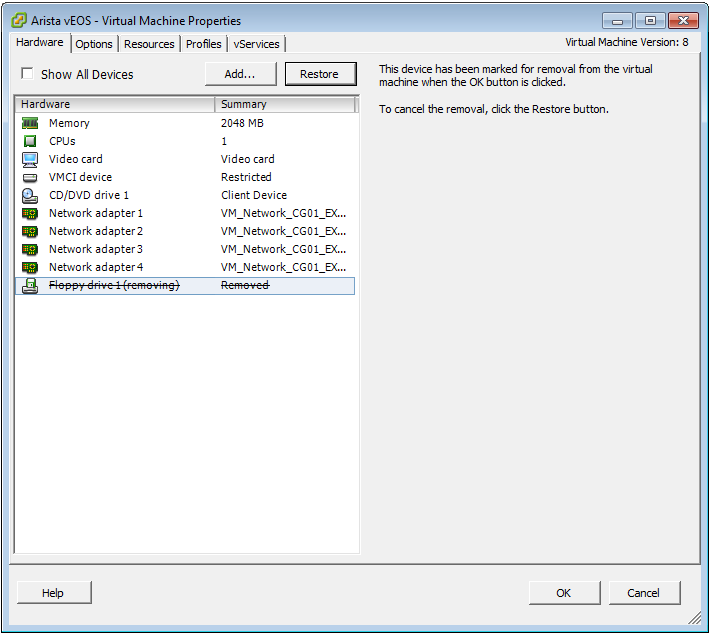
Map the CD/DVD drive 1 to the Aboot-veos-2.0.8.iso bootloader image residing on your datastore. This file needs to remain mounted. It is not only used for installation, but for all future boot cycles.

Add a new device of the type Hard Disk.

Choose Use an existing virtual disk as the disk type.
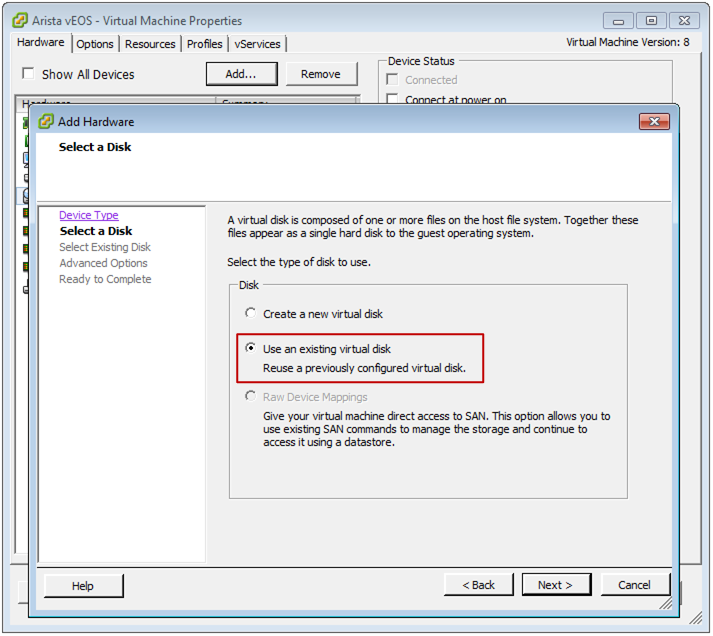
Select the EOS-4.12.0-veos.vmdk disk image file residing on your datastore.
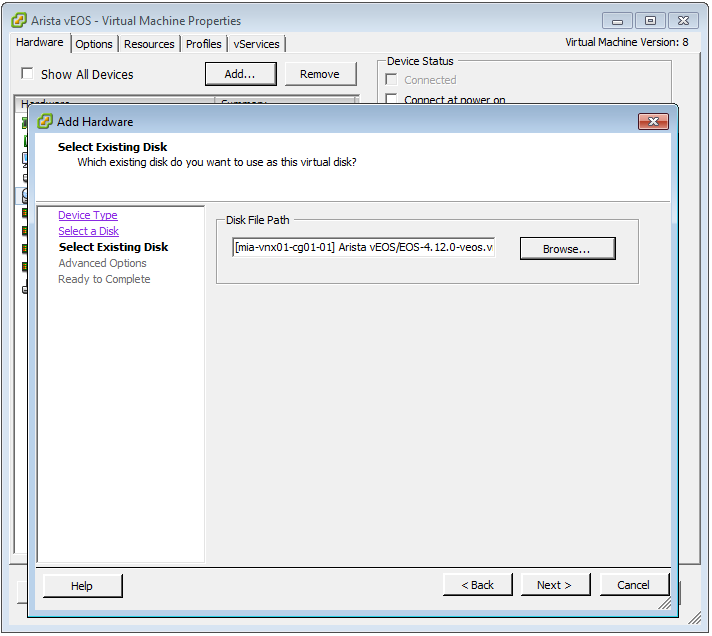
Accept the proposed Virtual Device Node with IDE (0:0).
Re-connect any NIC devices that you want to change and didn’t get a chance so far.
Close the “Add Hardware” wizard and the “Virtual Machine Properties” dialog.
Boot your vEOS VM
Now it’s time to test if things are working. Power up the vEOS VM and open the Console.
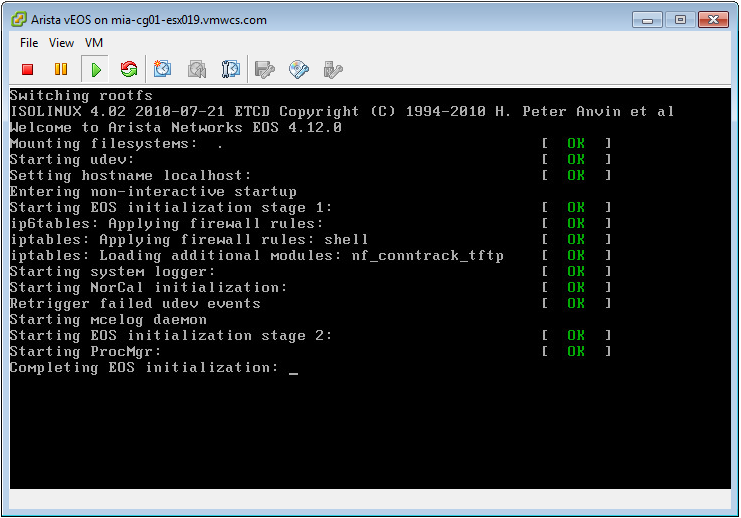
It will take a few moments for vEOS to complete the first boot during which the virtual Flash is being initialized.
Once the boot process is complete you can login with the username admin and e.g. list the physical interfaces.
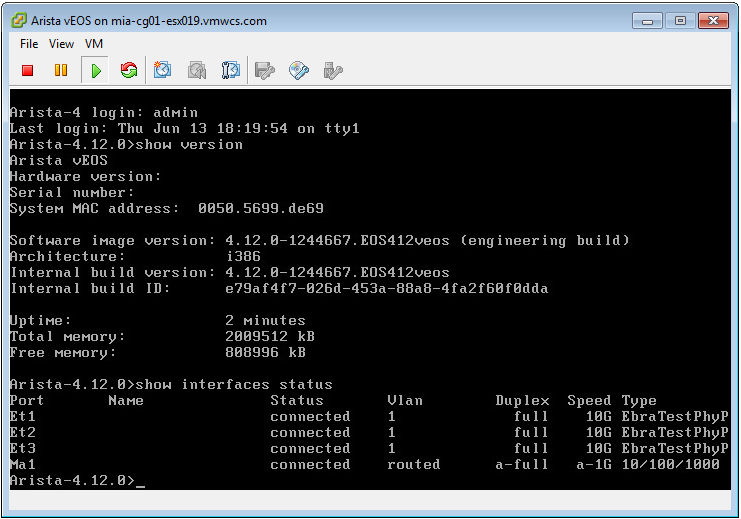
Enjoy your newly installed vEOS on ESX!
What’s next?
As a next step you could import the above vEOS instance into VMware vCloud Director and create simple or complex vApps of vEOS instances depicting various network architectures.
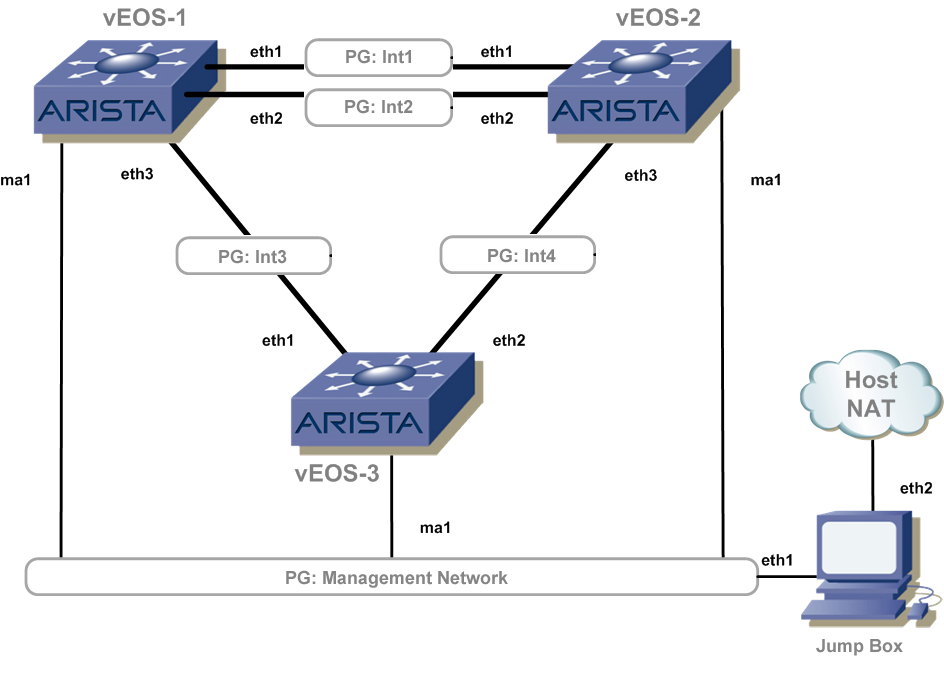
Figure 18 shows a sample vEOS lab layout with 3 vEOS VMs and a Windows or Linux Jump Box VM. The VMs are interconnected via various vApp networks.